 The most dedicated gamers know how important it is to be comfortable while they are playing. Sitting for long periods of time can cause soreness and muscle problems, so hardcore gamers know that they have to buy ergonomic chairs (my related article) specifically designed for playing video games.
These gaming chairs are high quality and have many features, so they are not cheap. You already coughed up a lot of dough to be this comfortable while gaming until the wee hours of the morning, so why wouldn’t you take the time to keep it nice and clean?
Whether you spill a drink on your favorite chair, accidentally leave cheese puff debris all over, or if you just sweat profusely every time you game, you will need to have a strict cleaning regimen and use the best products.
Using cheap products that have too many chemicals can cause damage to the chair’s material and may not even get the job done.
Every chair will come with cleaning instructions, so make sure you check those before beginning the cleaning process. However, there are many things you can do in addition to the directions that are given with the chair when you buy it.
How to Clean a Gaming Chair
The steps involved in cleaning a gaming chair are shown below.
- Verify the Material of the Gaming Chair
- Gather your cleaning items
- Eliminate Surface Dust and Debris
- Deep Clean the Upholstery with Water and/or Cleaner
- Get even tougher on stubborn stains
- Get to the rest of the Gaming chair
- Get to the real detailing
Now let us take a look at each step in detail. Follow the directions, and you will have a clean, attractive, comfortable chair that will last years!
1. Verify the Material of the Gaming Chair
As I mentioned, different chairs are made from different materials. The upholstery used across brands can vary greatly, and even certain plastic parts and accessories have different requirements.
Your gaming chair can technically be made from anything, but it is most likely upholstered with one of four materials:
- PU Leather
- PVC Leather
- Fabric
- Mesh
Once you know which one comprises the majority of your chair, you’ll be able to take a tactical approach towards cleaning it.
Also, check the accessories such as cup holders, armrests, wheelbases, and the wheels themselves. It is highly likely that they will be made out of plastic, which is simple to clean, but some high-end chairs have stainless steel components. This is similarly easy to clean, but it can be helpful to use a different material for it.
2. Gather your cleaning items
Once you’ve verified the materials of your chair, it is time to start gathering the items that you will need to clean based on the makeup. At the very least, you should have a bucket of warm water and a clean rag that you are willing to get dirty.
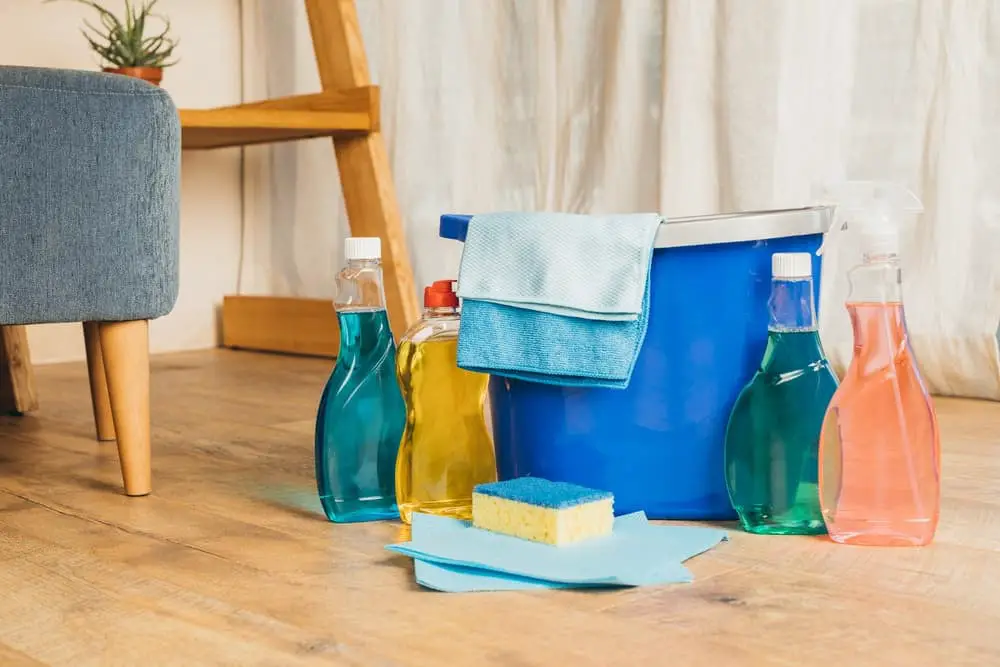
For more cleaning power, however, you will have to go a little bit further than this, especially if you’ve been eating while gaming and getting crumbs and frosting all over the place.
Mild dish detergent is a great thing to have and will mix with warm water to create a solvent that will be able to clean most materials while not harming them.
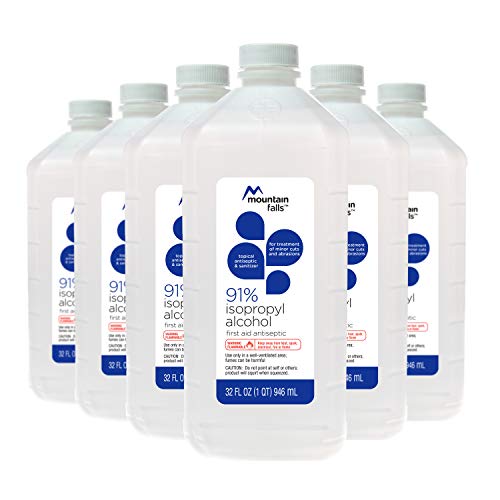
Stronger materials can stand up to alcohol-based solvents that you can purchase at the grocery store. If you prefer to go that route, those will work just as well. Speaking of alcohol, you’ll also need rubbing alcohol if you have any deep, stubborn stains that won’t come out with the aforementioned products.
Other tools that are useful are sponges and brushes of different sizes, based on how thoroughly you are planning on cleaning your gaming chair. These can be used in combination to wipe away debris, deep clean stains, and rinse off cleaning solvents that you may use on the chair.
A dry towel or set of paper towels is useful at the end to keep away water stains and streaky marks.
3. Eliminate Surface Dust and Debris
This is the easy part and the least stressful, as you won’t need to use water or any sort of cleaning solvent that may make you worry about stains.
If your chair is made of PU or PVC leather, you can simply take a duster or a microfiber rag and wipe the surface of it. The static properties will cling to the dust and take all of the debris right off the surface with barely any effort.
Fabric and mesh chairs, on the other hand, require a bit more work. Due to the absolvent nature of the materials, they will collect a lot of dust and debris that will get caught way deep down in the fibers of the fabrics. These types of chairs will require a vacuum to get the job done.
A handheld vacuum such as one used for pet hair or to get into tricky corners is perfect for this. They even make battery-powered ones so that you don’t have to deal with finding an outlet and bending down to plug it in (we know you’ve been sitting down for a while already while enjoying your video games.
The best attachment to use is the brush attachment, as it will pick up certain small particles that the suction of the vacuum won’t be able to get. Don’t push down too hard – a gentle rub over the entire surface of the chair should be able to get everything you need to for this step.
If you have a chair that requires vacuuming, you should be diligent in performing this on a weekly basis. Otherwise, you’ll risk certain debris becoming too far lodged in the chair to remove without a deep cleaning.
4. Deep Clean the Upholstery with Water and/or Cleaner
Now that you’ve rid the chair of the surface debris, you are ready to go in for a deep clean. This is going to help get rid of those coffee or beer spills, as well as the pizza sauce that has been staring back at you for weeks.
If you’ve waited too long, it may not come out completely, but you will at least be able to get it to fade a bit and possibly blend in with the rest of the fabric. There are several things you can do to deep clean the upholstery.
The first thing you need to do is look at the tag on the chair that gives you cleaning directions. It will be marked with either an “S,” “W,” or “S/W.” Don’t be scared! These aren’t some sort of sacred codes that need to be deciphered like you might have to do with your favorite RPG.
In fact, they are pretty straightforward. “W” means that the chair should be cleaned using only water. “S” means that you can use a cleaning solvent instead and that it is, in fact, preferred. “S/W” signifies that you can use water, solvent, or both in combination.
I recommend that you clean with solvent first and then rinse with water. Even “W” chairs can usually withstand a small amount of dish soap mixed in with the water.
How you use the water or solvent depends on the material of the chair. Leather and faux leather require that you rub the liquid onto the chair gently with a soft rag or sponge.
Scrubbing too vigorously could cause some color to come out and might hurt the material more than it will help. Fabric, on the other hand, can handle intense scrubbing and will actually turn out better if you put some force into it using a brush or rag.
Mesh shouldn’t be rubbed at all – it should instead be blotted with minimal force until it begins to look cleaner.
5. Get even tougher on stubborn stains
Some stains, as mentioned, may not come out so easily. If you are cleaning your chair for the first time after months of hardcore, lengthy gaming sessions, you may be in for quite the surprise when it comes to cleaning the food, sweat, beverages, and maybe even blood, depending on how seriously you take your gaming.
In these situations, you are going to need to spot clean the stains that won’t come out with the standard water or solvent treatment. This is best done with rubbing alcohol, but you shouldn’t just dump a bunch of it on your chair as you did with the last beer that you spilled on it.
Instead, get a cotton ball and apply a small amount of rubbing alcohol to it. Find a place on the chair that isn’t easily seen, such as the bottom of the seat.
Blot a small area with the alcohol and let it sit for a few minutes. If the alcohol caused any damage, then you shouldn’t use it to clean the chair. If, however, the area remains unharmed afterward, you are good to go.
Use cotton balls and small amounts of alcohol to dab the stains anywhere on the chair. Don’t go overboard – even if the small amounts of alcohol didn’t damage the upholstery, excessive use will still dry it out and cause it to lose some of its lifespan.
Think of this as a detailing job to complement the original water and solution cleaning that you did prior to this. It should be used sparingly and only on those tough stains that don’t seem to want to come out no matter how hard you scrub them.
6. Get to the rest of the Gaming chair
Once you’ve cleaned the upholstery and rid it of all of the demons of the past gaming sessions, the difficult part is over.
It is now time to focus on the other parts of the chair that are much easier to clean. These include the armrests, frame, base, and wheels if you have them. Because these are usually made with plastic or some other hard material, they are very easy to clean.
All you have to do is simply wet a sponge or rag with soap and warm water and scrub the areas clean of their dirt and stains.
You can also use cleaning solvent if you want to disinfect them, and it is recommended if you’ve been sitting there gaming without showering for days on end. Even if you don’t notice the scent, anyone that comes into your house will, so it is an added bonus to clean it with something that has a pleasant smell.
Some gaming chairs may have stainless steel components, especially if they are very high quality. The frame might be made of stainless steel, and the base may have stainless steel underneath the plastic shell. You can clean this stainless steel in the same way you cleaned the plastic, with a little bit of warm water and mild detergent.
Make sure to wipe it dry with a rag or paper towel so as to prevent streaking. Do the same to the plastic components, and you’ll be almost finished cleaning your gaming chair.
7. Now get to the real detailing
If you want to get really intense about your cleaning, you can begin to take apart the chair and clean the smaller components that hold it together and keep it functioning.
In general, this means unscrewing the casters and vacuuming out the area in which they were residing. This is one of the most common places for hair and debris to accumulate, and there is no quick and easy way to get to it.
Turn your chair upside down and remove the casters first. After you vacuum out the wells, take a wet rag and apply cleaning solvent, wiping them down until they are nice and clean. Then clean the wheels themselves in the same manner, scrubbing as hard as you can to get rid of all of those nasty floor particles.
For any gunk that just won’t come out with soap and water, feel free to use rubbing alcohol generously. The casters are different than upholstery and can stand up to the abrasiveness of the alcohol.
On top of that, you can use something like WD-40 (Amazon) link) to get them lubed up before you put them back on the chair. This will ensure that they roll smoothly and make your gaming experience as comfortable as possible.
Keeping a Clean chair
Cleaning your chair when it’s already dirty is one way to go about living, but it is a lot easier to simply keep your chair as you go along so that you won’t have to have another one of these long, drawn-out cleaning sessions.
If you practice proper chair hygiene and clean up after yourself every time you play games, you will be doing a favor to your chair, yourself, and your friends and family who have to come over and look at your messy apartment.
Eating habits
It isn’t advisable to eat while you are in your gaming chair, but we understand that it’s almost impossible to tell a gamer that they need to stop playing just so they can sit down at the dinner table for a proper meal.
If you must eat while sitting in your gaming chair, make sure to bring plenty of napkins with you so that you don’t end up wiping that potato chip dust on the side of your chair in the midst of an intense video game showdown.
It shouldn’t need to be said that you should always use plates or bowls when you are eating, but we will say it anyway. This is especially true if you picked up food or had it delivered.
Eating pizza out of the box may be easy, but it is a recipe for disaster if you are sitting in your gaming chair preoccupied with another task. Simply using a plate will help ensure that rogue sauce drops hit the plate rather than the chair.
You might also consider covering your chair with an old blanket while you are eating in it. Sure, the blanket might get dirty, but it’s a lot easier to throw that into the wash than it is to scrub a stain out of the chair.
You might also consider eating less messy meals – stay away from red sauce and gravy and opt instead for lighter colors and drier meals. These are far easier to wipe away than something heavy and full of liquids.
If you do happen to get some food on your chair, don’t wait to clean it up! Grab a wet rag and wipe it up right away.
If crumbs get all over the place, get a broom and sweep them into a dustpan before they dissipate any more across the room and onto your chair. There really is no easier way to clean a chair than to be proactive and take action right away if something happens. It will save you a major headache down the line, and it will keep the chair looking nicer for a longer time.
Conclusion
So, now you know how to clean your chair and keep it clean for the future. This should make for a more fun, stress-free gaming experience that you can enjoy without having to worry about doing chores when you are finished! Now go and enjoy that chair and win all of your games!
